
Recessed Lighting Installation: Costs, Steps & Tips
Recessed lighting installation can feel overwhelming, especially if you're not sure how many lights you need, where to put them, or whether the cost will spiral out of control. Done right, it transforms a room from flat and dull to clean, modern, and well-lit. But a rushed or poorly planned installation can mean patched drywall, wasted money, and lights that never look quite right. This guide walks you through everything: from understanding costs and fixture types to step-by-step installation and when it makes sense to power your lighting setup with a home backup battery system like an EcoFlow Ocean Pro. Let's dive in.
What is recessed lighting?
Recessed lighting refers to fixtures set flush into the ceiling, also commonly called can lights or downlights. Unlike surface-mounted fixtures, they sit inside the ceiling cavity, giving any room a clean, uncluttered look without sacrificing brightness.
It's one of the most popular lighting choices for modern homes because it's versatile, space-saving, and works in virtually any room. You'll find recessed lighting in kitchens, living rooms, hallways, bathrooms, and home offices, anywhere a sleek, built-in light source makes sense.
Types of recessed lighting fixtures
Choosing the right hardware is essential for a safe and effective recessed light installation. Fixtures are generally categorized by how they are installed and how they perform within your ceiling's ecosystem.
Housing types
There are two primary housing options:
New construction housings: These are used when you have full access to the ceiling joists before the drywall is installed. They feature a frame that nails directly to the studs for maximum stability.
Remodel (Retrofit) housings: Designed for existing ceilings, these slide into a hole cut in the drywall and secure using metal clips that grip the ceiling's top side. These are the standard choices for home renovations.

Trim types
The visible part of the fixture comes in several styles:
Open trim: Provides maximum light output with a simple, clean look.
Baffle trim: Reduces glare with grooved sides for a softer appearance.
Gimbal / Eyeball trim: Adjustable direction, perfect for highlighting artwork or specific areas.
Shower trim: Fully sealed and waterproof, required for bathrooms and wet locations.
Bulb types
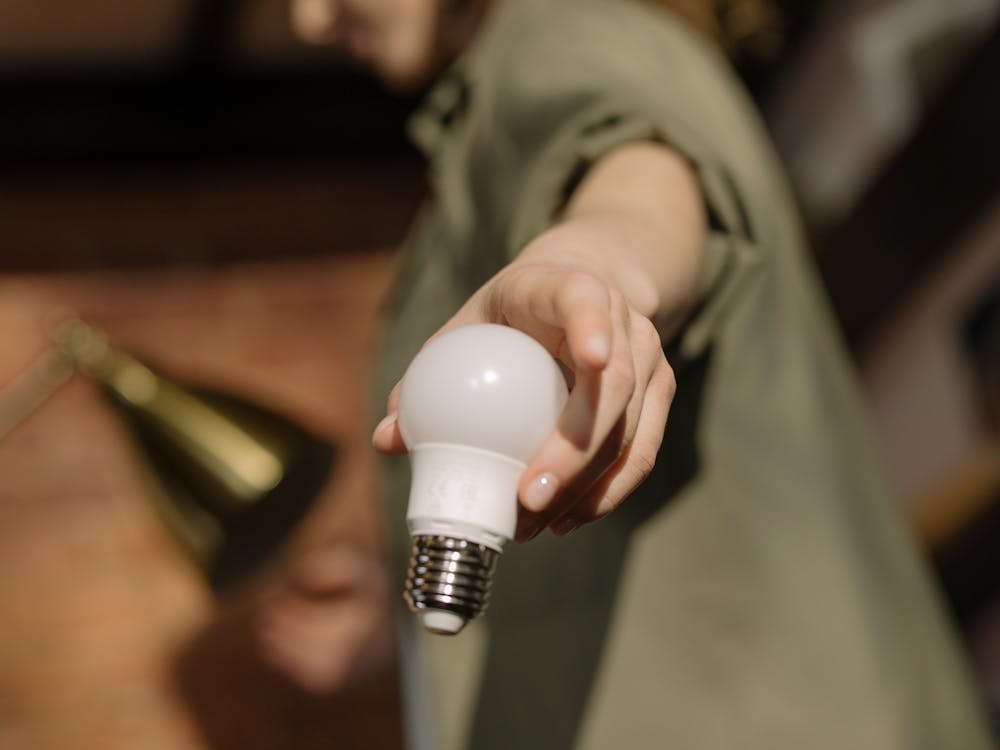
LED is the clear winner for recessed lighting. LEDs use significantly less energy than incandescent or halogen bulbs, last much longer, and don't generate the same heat, which matters when fixtures are tucked into an insulated ceiling. CFL and halogen options exist, but they're increasingly hard to justify given LEDs' efficiency and falling cost.
IC vs. non-IC rating
This is the most critical safety distinction:
IC (Insulation Contact) rated: These fixtures are specially designed to be buried in attic insulation without overheating.
Non-IC rated: These require a minimum 3-inch gap between the fixture and any insulation to prevent fire hazards. Always check your attic before purchasing.
How to plan your recessed lighting layout
A successful installation starts with a solid blueprint. Proper planning ensures you don’t end up with a room that feels like a dark cave or, conversely, an over-lit surgical suite.
Determine the purpose
Recessed lighting can serve three functions: ambient (general room illumination), task (focused light for work areas like kitchen counters), or accent (highlighting artwork, shelving, or architectural features). Most rooms use a combination, so it helps to map this out before deciding on fixture placement.
Spacing rule
A simple rule of thumb: divide your ceiling height by 2 to get the ideal spacing between fixtures. For a standard 8-foot ceiling, space your lights 4 feet apart. This helps create uniform lighting without dark spots or harsh shadows.
Fixture count guide
For a standard 12×12 room, 4–6 recessed lights usually provide good ambient lighting. Larger rooms or spaces needing brighter task lighting may require 8–10 fixtures. Always adjust based on ceiling height, room function, and desired brightness.
Placement Tips by Room
Kitchen: Focus lights over the sink, prep areas, and kitchen island. Task lighting here matters more than in most rooms.
Living room: Aim for even spacing to create consistent ambient light. Avoid clustering fixtures in one area.
Bathroom: Use shower-rated fixtures in wet zones. Place lights near vanity to reduce shadows on faces.
Plan for dimmers
Dimmer switches dramatically expand how useful recessed lighting can be — bright for tasks, low for ambiance. Just make sure to buy LED-compatible dimmers and confirm your bulbs are dimmable before purchasing.
Recessed lighting installation cost breakdown
Understanding the cost to install recessed lighting is essential for budgeting your renovation. Prices vary significantly depending on whether you are doing a simple upgrade or a complex "blind" installation without attic access.
Average costs
Professional installation typically runs $300–$500 per fixture, all-in. Breaking that down further, the fixture itself costs $20–$150+, depending on brand and type, while electrician labor generally adds $200–$300 per fixture. For a typical kitchen with 6 fixtures, expect to spend somewhere in the range of $1,800–$3,000.
Factors that affect price
Several elements influence the final recessed lighting installation cost:
Number of fixtures
Ceiling access (easy attic access vs. no access)
Drywall cutting, patching, and repainting
Adding dimmer switches or upgrading wiring
Local labor rates in your area
DIY vs. professional install
Doing it yourself can save $200–$300 per fixture in labor, but it comes with real risks. Electrical work done incorrectly is a fire hazard, and mistakes can mean costly repairs — or worse. If you're comfortable with basic wiring and understand how to work safely with electricity, a retrofit installation on an existing ceiling is manageable for a confident DIYer. For new construction or anything involving your main panel, hire a licensed electrician.
Cost-saving tip
Buying fixture and trim kits together as a package is almost always cheaper than purchasing them separately. Many manufacturers bundle compatible components, and retailers frequently discount the combination.
Long-term energy savings
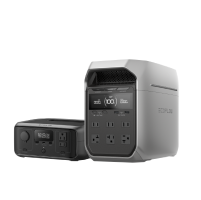
Once your recessed lighting is optimized, consider pairing it with a whole-home backup power solution like the EcoFlow Ocean Pro. LED recessed lights draw minimal power, making them an ideal load for a home battery system, so your lighting stays on and efficient even during grid outages. It's a smart next step for homeowners already investing in energy-conscious upgrades.
Get Your Free Home Energy Consultation!
Which energy solution are you interested in?
How to install recessed lighting: Step-by-step
Installing recessed lighting is a manageable DIY project if you have basic electrical experience and the right tools. However, if you’re uncomfortable working with wiring, hiring a licensed electrician is strongly recommended for safety and code compliance.
Tools and materials needed
Before you begin, gather the following essentials:
Hole saw (sized to your fixture)
Drywall saw
Fish tape
Wire stripper
Voltage tester
Recessed light kit (housing + trim)
Wire nuts, electrical tape, and cable staples
Step 1: Turn off power at the breaker
Before touching anything, shut off the circuit you'll be working on at your breaker panel. Don't rely on just flipping the wall switch.
Step 2: Mark and cut ceiling holes
Use the template that comes with your fixture to mark each hole location on the ceiling. Double-check your spacing plan, then cut carefully with a drywall saw or hole saw. Before cutting, probe the area to make sure there are no joists or existing wiring directly above.
Step 3: Run wiring
Use fish tape to pull electrical wire from your power source to each fixture location. Leave about 12 inches of slack at each hole for easier connections.
Step 4: Connect wiring to the fixture
Follow the wiring diagram included with your fixture. Typically, this means connecting black to black (hot), white to white (neutral), and bare copper to the ground screw or wire.
Step 5: Secure the housing
Push the housing up into the ceiling hole and engage the mounting clips. On remodel fixtures, these spring-loaded clips grab the top of the drywall and hold the fixture in place.
Step 6: Attach trim and install the bulb
Snap or screw the trim ring into place according to the manufacturer's instructions. Install your LED bulb.
Step 7: Restore power and test
Turn the breaker back on and test each fixture. Check that dimmers respond correctly if you've installed them.
Safety note: Always use a voltage tester to confirm power is off before touching any wires. Working with electricity can be dangerous — never skip safety steps.
Common recessed lighting mistakes (and how to avoid them)
Even well-intentioned installations go wrong. Here are the most frequent mistakes and how to sidestep them.
Installing too few lights
Under-lighting a room is one of the most common outcomes when homeowners guess at fixture count. Use the spacing formula and room-size guidelines to plan properly before cutting any holes.
Wrong fixture for insulated ceilings
Using a non-IC-rated fixture in a ceiling with insulation is a fire hazard. Always verify your attic type; if the fixture touches insulation, it must be IC-rated to prevent overheating.
Skipping dimmer-compatible bulbs
If you install a dimmer switch but pair it with non-dimmable bulbs, you'll get flickering, buzzing, or premature bulb failure. Confirm compatibility before buying.
Placing lights too close to walls
Fixtures positioned less than 2 feet from a wall tend to create a scalloping effect — an arc of light on the wall that looks uneven and distracting. Keep fixtures at least 2 feet from walls unless you're intentionally using wall-wash placement.
Not planning for bulb access
Once installed, some fixtures can be awkward to reach for bulb changes. Make sure you can access the trim and bulb without a complicated process, especially in high ceilings.
Using non-rated fixtures in wet areas
Standard fixtures in showers or other high-moisture areas can fail or pose electrical hazards. Always use shower-rated (wet-rated) trims and IC-rated housings in bathrooms.
Cutting without checking above
Cutting into a joist or hitting existing wires can cause structural damage or electrical hazards. A stud finder and a quick exploratory probe can save you from a costly mistake.
Recessed lighting and energy efficiency
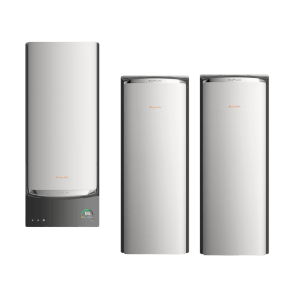
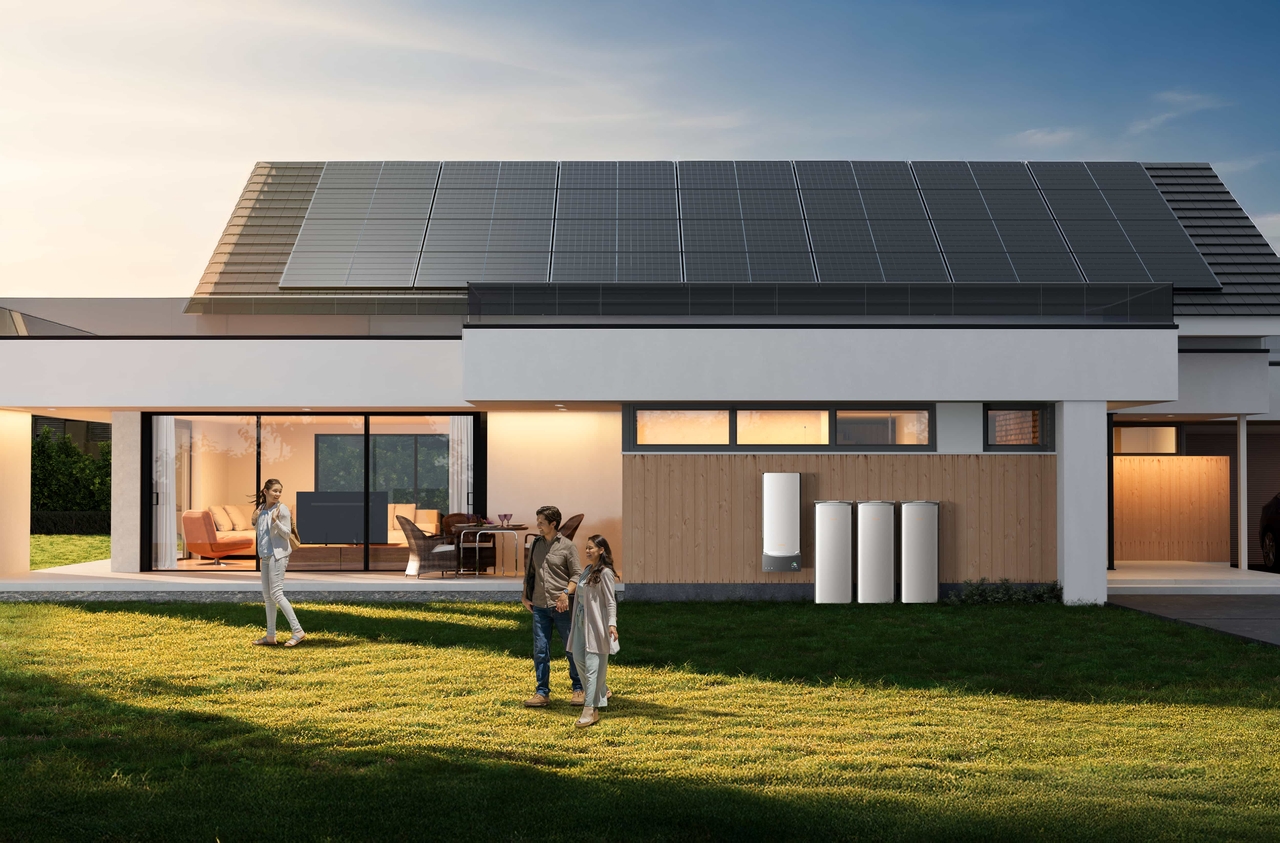
For homeowners building toward energy independence, pairing efficient LED recessed lighting with an EcoFlow whole-home backup power system means even during grid outages, your lighting, appliances, and entire home keep running seamlessly. EcoFlow’s ecosystem — featuring smart electrical panels like the Smart Electrical Panel 40 and high-capacity home batteries such as the Ocean Pro — makes it a natural fit for renovation-minded homeowners already optimizing for efficiency.
The Smart Electrical Panel 40 is purpose-built for seamless integration with the Ocean Pro, delivering real-time energy balancing, smart backup, and whole-home power management — so your home stays powered, no matter what the grid brings. With scalable battery storage starting at 10kWh (expandable up to 80kWh), 24kW continuous output, and intelligent energy management, EcoFlow helps you significantly reduce electricity bills while ensuring reliable whole-home power.
Optimizing your lighting isn't just about the aesthetics; it’s a critical part of reducing your home's overall energy footprint.
LED recessed lights
Modern LED modules use roughly 85% less energy than traditional incandescent bulbs. This massive reduction in power draw significantly extends the runtime of your backup power system during an outage.
Dimmer switches
Adding a compatible dimmer switch can reduce energy consumption by 20–30%, depending on how often you run lights at reduced levels. It also extends the lifespan of your bulbs by reducing the heat generated during operation.
IC-rated and AT-rated fixtures
Beyond safety, IC-rated, airtight (AT-rated) fixtures reduce heat loss through ceiling penetrations. This reduces the load on your HVAC system, particularly in climates with extreme winters or summers.
Energy-efficient lighting is a major selling point. Prospective buyers today prioritize homes that offer lower utility bills and sustainable infrastructure, like integrated backup power.
Conclusion
Recessed lighting installation is one of the most effective ways to modernize your home and improve its daily functionality. By carefully planning your layout, choosing energy-efficient LED fixtures, and considering a robust home energy backup system, you can ensure your renovation is both beautiful and resilient. Whether you are aiming for a sleek kitchen or a cozy living room, the right lighting—and the right power source—makes all the difference.
Ready to take your home's energy setup to the next level? Book a free consultation today to explore how the EcoFlow Ocean Pro and smart electrical panels can provide seamless backup power for your new recessed lighting and entire home during renovations or outages.
FAQs
1. How many recessed lights do I need for a 12×12 room?
For a 12×12 room, 4–6 recessed lights are usually sufficient for even ambient lighting. Use the spacing rule (ceiling height ÷ 2) and add 1–2 extra fixtures if you need brighter task lighting or have tall ceilings.
2. How difficult is putting in recessed lighting?
Difficulty depends on ceiling access. It’s manageable for DIYers with basic electrical skills in attics. However, "blind" installs between floors require advanced techniques like fishing wire through joists and precision drywall cutting.
3. Do I need an electrician for recessed lighting installation?
While DIY is possible, a licensed electrician ensures your project meets local building codes and fire safety standards. Professional help is highly recommended if your renovation requires new circuits or complex wiring through finished walls.
4. How much does it cost to install recessed lighting?
The average price to install recessed lights is $200–$400 per fixture, including labor and materials. Costs vary based on your geographic location, ceiling accessibility, and whether you are installing a dimmer or upgrading your panel.
5. Can recessed lighting be installed in existing ceilings?
Yes. Remodel (retrofit) recessed light housings are specifically designed for existing ceilings. These units slide into small holes and secure to the drywall with clips, making them perfect for updating finished rooms efficiently.
